Have you ever had your butt whooped by (3) 60 inch televisions? Well I have my people!! Let me tell you how
that went down, because it was a full body work-out by the time I got a new TV
in my house.
Picture this – It’s a gorgeous Saturday in sunny Southern
California. You and your hubby have
decided that it’s time to upgrade the old boob tube. No more burning images into the TV when you
pause it, upgrade city in the house sha-fizzle whizzle.

We arrive at Best Buy with our two kids, who will not behave
by the way. Did I care that they were
running wild???? Heck no, I was blinded by all the beautiful televisions! I kept my eyes on the kids while the old ball
and chain was put in charge of the TV selection.
So he selects the television and it just so
happens to be the floor model, not only is it huge, but it’s highly
discounted. We high five ourselves for
being thrifty and then pack that bitch up in the car. We’re so high on technology we even splurge
on some burgers and fries before coming home.

So now we’re at home, we’re full, happy, and ready to mount
the beautiful beast. So after 2 hours of
removing the old TV and refitting the new TV to be wall mounted, we hang it up,
we hang it up and admire the deep gauge running across its screen. This is when I almost cried. I don’t know about you, but I’m one of those
people where pretty much nothing goes right the first time!

So now we have to re-pack the beast and load it back into the
car, to take it back to Best Buy.
Thankfully they take it right back, believe me I was super
stressing. Hubby brings back a new TV,
which takes another 2 hours to mount since every freaking TV requires different
sized screws to be wall mounted.
That
night we plan on breaking it in with Breaking Bad and that’s when we realize
that the picture quality is that of something made 50 years ago. I suffered in silence through the first
episode of Breaking Bad and then I blurted out “I hate this TV, please take it
back!!!” Husband looked at me in
agreement, the sad teary eyes of agreement.
Round three was coming. The
people at Best Buy would probably be suspicious at this point!
So, the next day my angel of a husband takes this one back, after
the 1 hour re-packing of it – try getting a 60 inch TV back into the box you
ripped apart. He gets it back to Best
Buy and thank the lord they took this one back too.
The husband then picked out our 3rd,
yes 3rd TV in 2 days. He
brings it home, we both sacrifice a few animals over the box for good measure and ............SUCCESS!
Yes I do realize this is one of those first world kind of
problems.
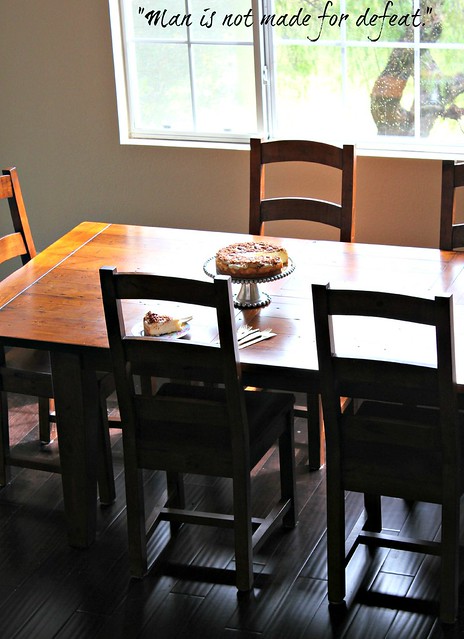
By the way this cheesecake will make your butt grow 60
inches, this is NO LIE - but dang is it pretty.

Ingredients (Original Recipe Here)
- 2 cups crushed shortbread cookies
- 3 tablespoons butter or margarine, melted
- 1/2 cup chopped Pecan Pralines (Trader Joe's)
- 5 (8-ounce) packages cream cheese, softened
- 1 3/4 cups sugar
- 2 tablespoons all-purpose flour
- 1 1/2 teaspoons vanilla extract
- 4 large eggs
- 2 egg yolks
- 1/3 cup whipping cream
- 1 teaspoon grated lemon rind
- 2 (8-ounce) containers sour cream
- 1/3 cup sugar
- Pecan Pralines for Garnish
- *You can also make your own Pralines*
Directions
Combine cookie crumbs
and butter. Press into bottom and up sides of a greased 10-inch spring form pan.Bake at 350° for 8
minutes. Cool on a wire rack. Sprinkle coarsely crumbled Pralines over crust.
Beat cream cheese at
medium speed with a heavy-duty electric mixer until creamy. Gradually add 1 3/4
cups sugar, flour, and vanilla, beating until smooth. Add eggs and egg yolks, 1
at a time, beating just until yellow disappears. Stir in whipping cream and
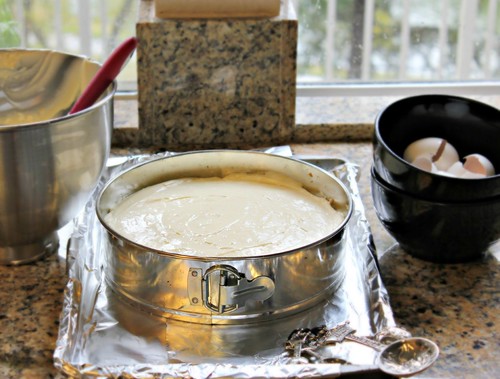
lemon rind. Pour in crust. Place on a foil-lined baking sheet.
Bake at 350° on lower
oven rack 10 minutes. Reduce oven temperature to 325,° and bake 1 hour and 20
minutes or until almost set. Cool on wire rack 1 hour.
Stir together sour cream
and 1/3 cup sugar; spread over cheesecake.
Bake at 325° for 10
minutes. Cool on a wire rack. Cover and chill 8 hours. Remove sides of pan.
Garnish with extra Pecan Pralines