Wednesday, June 30, 2010

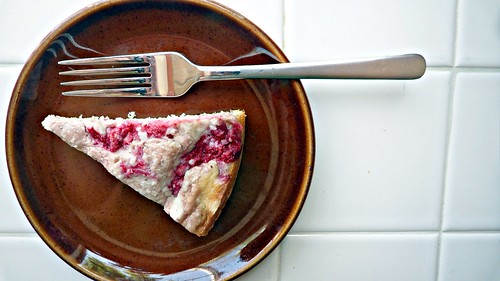
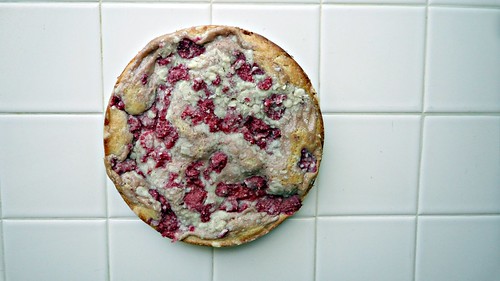
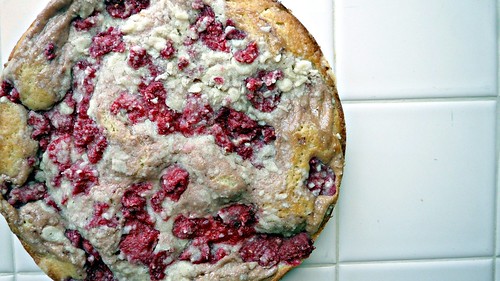
Rasberry Cream Cheese Cake


With all the berries that are making way through the markets, the next few months will be filled with those types of desserts here. I love these types of desserts over the more *fancy* ones. This cake is pretty simple and is kinda fun since it should be eaten very very cold, so berry refreshing for a hot summer day. Feel free to use any type of jam or berry & enjoy.


INGREDIENTS


1 cup unbleached all-purpose flour
1/3 cup sugar
1/8 teaspoon sea salt
5 tablespoons unsalted butter, chilled, cut into small pieces
1/2 cup low-fat vanilla yogurt
1 teaspoon pure vanilla extract
1/4 teaspoon almond extract
1 large egg
1/2 teaspoon baking powder
1/4 teaspoon baking soda
4 ounces light cream cheese, room temperature
1/3 cuP Strawberry jam or preserves (seedless)
3/4 cup fresh raspberries, lightly chopped


DIRECTIONS


Preheat oven to 350 degrees F. Combine flour, sugar, and salt in a large bowl; cut in butter with a pastry blender or potato masher until crumbly. Reserve 1/2 cup for later use.


Add yogurt, vanilla and almond extracts, egg, baking powder, and baking soda to mixture. Beat with electric mixer at medium speed until blended. Pour into 8-inch-round nonstick baking pan.


In a small bowl, combine cream cheese and jam; beat at low speed until blended. Spread evenly over batter. Top with reserved flour mixture, Sprinkle with chopped rasberries.


Bake for 45 minutes, or until edges are browned and center is nearly set. Cool on a rack. Refrigerate 3 hours, or until well chilled. Cut into 8 wedges.


Monday, June 28, 2010

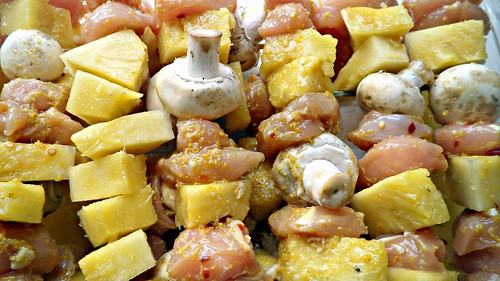
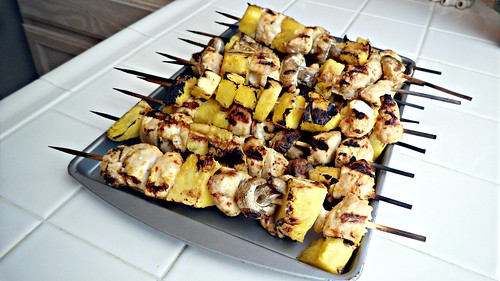
Orange & Ginger Chicken Kabobs


We busted the BBQ out this weekend while watching the soccer match with the US (man was my tummy in knots). Kabobs are fun lets face it, they are tasty, colorful, and handheld - which is great while roaming around chatting with friends and praying for the US soccer team to win.


The below kabobs did not get my toddlers seal of approval, but they do get mine and well....I am older - wiser??


INGREDIENTS

2 medium oranges, zested
1/2 cup of fresh OJ
1 clove garlic, minced
2 Tbsp olive oil
1 Tbsp soy sauce
1 Tsp Sesame Oil
1 Tbsp Fresh zested ginger
1/2 Tbsp rice vinegar
1/2 tsp ground ginger
1/2 Tbsp red pepper flakes
- Chicken or beef for kabobs & Mushrooms & Pineapple (or whatever you like on your kabobs)


DIRECTIONS

Combine all ingredients together and pour over chicken or beef, I left my chicken sitting covered in this marinade for 1 hour prior to grilling.


Assemble kabobs and then grill until the chicken is blackened a bit on the outside, this chicken is so moist!


Friday, June 25, 2010

Daring Bakers June - Chocolate Pavlovas with Chocolate Mascarpone Mousse


Let me just say that this is my 2nd Daring Bakers Challenge and boy have I been challenged. Last month was something I had never heard of and this month was more of the same…not to mention all the steps!


Without skipping a beat, here are


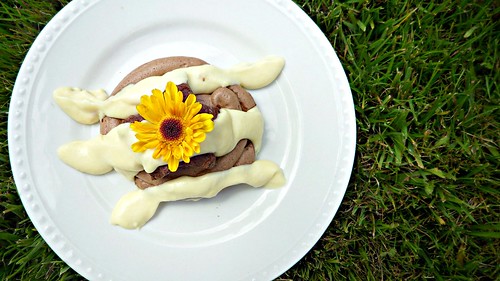
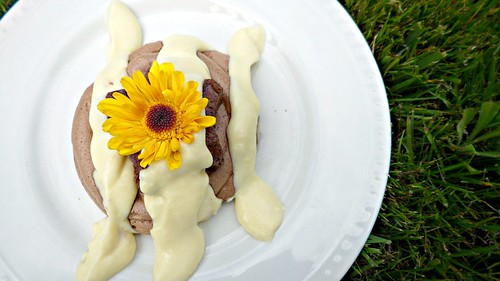
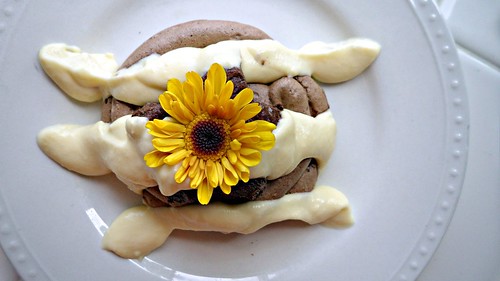
CHOCOLATE PAVLOVAS WITH CHOCOLATE MASCARPONE MOUSSE (on my lawn, he he)


The parts of the sum:


Recipe 1: Chocolate Meringue (for the chocolate Pavlova):
3 large egg whites
½ cup plus 1 tbsp (110 grams) white granulated sugar
¼ cup (30 grams) confectioner’s (icing) sugar
1/3 cup (30 grams) Dutch processed cocoa powder

DIRECTIONS


1. Place a rack in the center of the oven and preheat to 200º F (95º C) degrees. Line two baking sheets with silpat or parchment and set aside.
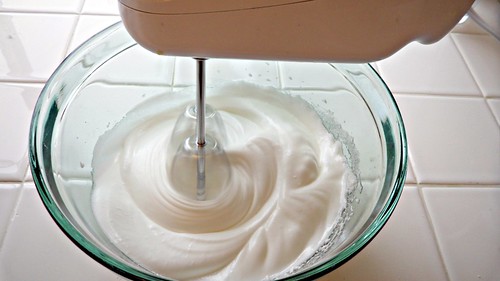


2. Put the egg whites in a bowl and whip until soft peaks form. Increase speed to high and gradually add granulated sugar about 1 tbsp at a time until stiff peaks form. (The whites should be firm but moist.)
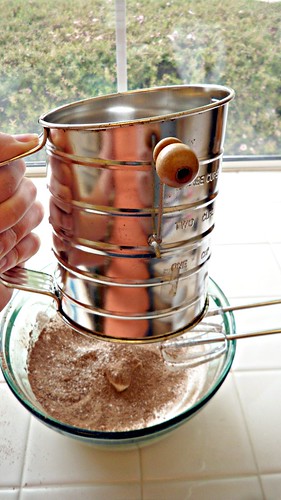


3. Sift the confectioner’s sugar and cocoa powder over the egg whites and fold the dry ingredients into the white. (This looks like it will not happen. Fold gently and it will eventually come together.)


4. Fill a pastry bag with the meringue. Pipe the meringue into whatever shapes you desire.
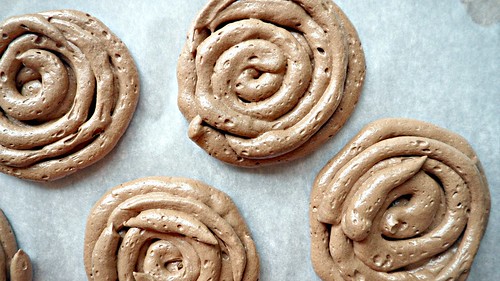


5. Bake for 2-3 hours until the meringues become dry and crisp. Cool and store in an airtight container for up to 3 days.


Recipe 2: Chocolate Mascarpone Mousse (for the top of the Pavlova base):

1 ½ cups (355 mls) heavy cream (cream with a milk fat content of between 36 and 40 percent)
grated zest of 1 average sized lemon
9 ounces (255 grams) 72% chocolate, chopped
1 2/3 cups (390 mls) mascarpone
pinch of nutmeg
2 tbsp (30 mls) Grand Marnier (or orange juice)


DIRECTIONS
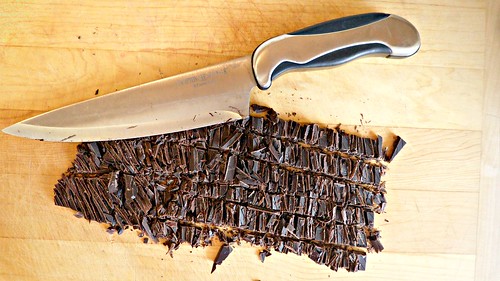


1. Put ½ cup (120 mls) of the heavy cream and the lemon zest in a saucepan over medium high heat. Once warm, add the chocolate and whisk until melted and smooth. Transfer the mixture to a bowl and let sit at room temperature until cool.


2. Place the mascarpone, the remaining cup of cream and nutmeg in a bowl. Whip on low for a minute until the mascarpone is loose. Add the Grand Marnier and whip on medium speed until it holds soft peaks.
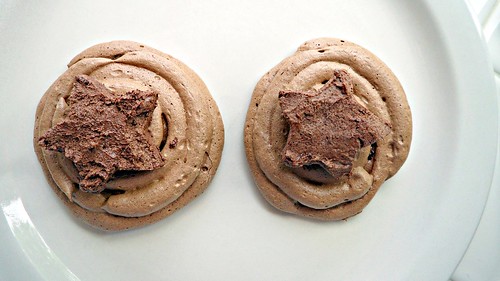


3. Mix about ¼ of the mascarpone mixture into the chocolate to lighten. Fold in the remaining mascarpone until well incorporated. Fill a pastry bag with the mousse. Again, you could just free form mousse on top of the pavlova. I used a star cookie cutter to make a cute shape.
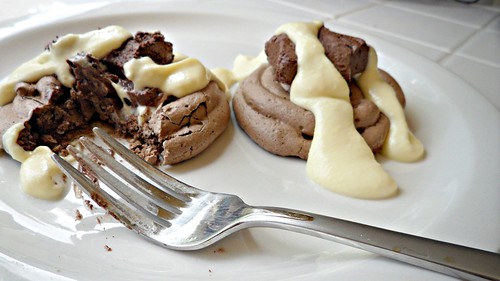


Recipe 3: Mascarpone Cream (for drizzling):

1 recipe crème anglaise
½ cup (120 mls) mascarpone
2 tbsp (30 mls) Sambucca (optional)
½ cup (120 mls) heavy cream


DIRECTIONS


1. Prepare the crème anglaise (below). Slowly whisk in the mascarpone and the Sambucca and let the mixture cool. Put the cream in a bowl and beat with electric mixer until very soft peaks are formed. Fold the cream into the mascarpone mixture.
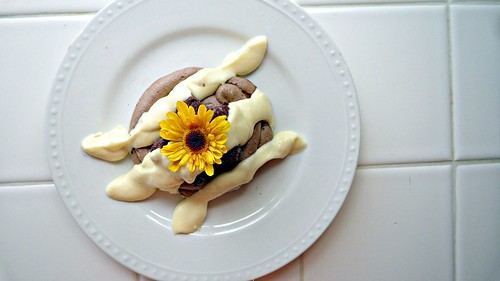


Recipe 4: Crème Anglaise (a component of the Mascarpone Cream above):
1 cup (235 mls) whole milk
1 cup (235 mls) heavy cream
1 vanilla bean, split or 1 tsp pure vanilla extract
6 large egg yolks
6 tbsp (75 grams) sugar


DIRECTIONS


1. In a bowl, whisk together the egg yolks and sugar until the mixture turns pale yellow.


2. Combine the milk, cream and vanilla in a saucepan over medium high heat, bringing the mixture to a boil. Take off the heat. .


3. Pour about ½ cup of the hot liquid into the yolk mixture, whisking constantly to keep from making scrambled eggs. Pour the yolk mixture into the pan with the remaining cream mixture and put the heat back on medium. Stir constantly with a wooden spoon until the mixture thickens enough to lightly coat the back of a wooden spoon. DO NOT OVERCOOK.


4. Remove the mixture from the heat and strain it through a fine mesh sieve into a bowl. Cover and refrigerate until the mixture is thoroughly chilled, about 2 hours or overnight.


Eat and Enjoy Ladies & Gents – also unload the dishwasher because chances are if you just made this you now have multiple loads to do.

Thursday, June 24, 2010

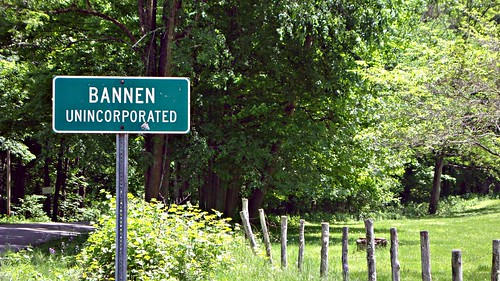
Bannen West Virginia & Me


This is a little trip through a particular place I grew up in and just recently visited again with my daughter and husband.


First thing to tell you is my grandparents are fabulous and wonderful people, they own the cutest little cottage in the mountains of West Virginia in a little place called Bannen. To get there you have about 1 hour of car time through twisting and winding roads…Indigo didn’t make it! If you can remember from your own childhood twisty roads are not good on kids…hence the carseat that had to be washed and placed on top of our rental to “air out”.


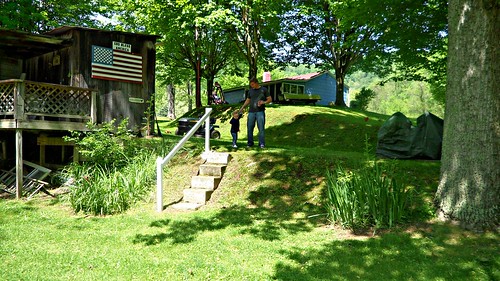
So once all that excitement had ended we explored a bit and I told my husband plenty of stories about *camp*, that is what we called it and now I would like to welcome you there! Please say hello to my Papa, his name is Howard.


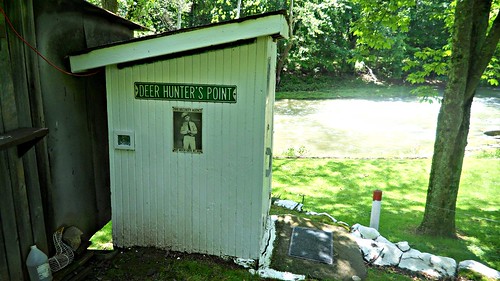
And I need to warn you, there is no toilet inside. You pee in a pot at night unless you care to venture to the . . . .


Let me take you on a tour of the land, please don’t mind if my hubby and Indigo join us.


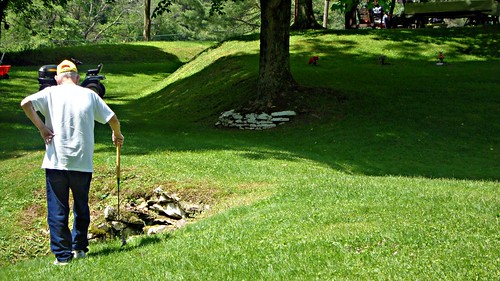
Here is my old swimming hole, I used to catch crawdad’s here & fish with Papa.


How about everyone comes downstairs to see what my Papa is doing


And just like normal, he is working. His job will never be done here, he loves this place.


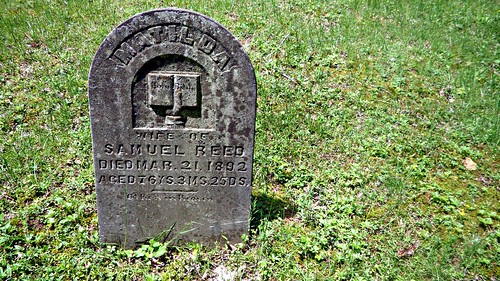
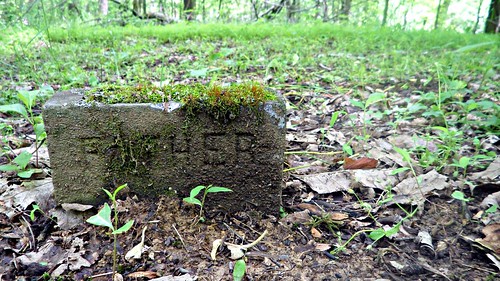
Papa and Nanny also happen to own a church up here, they already have their gravestone planted and someday will call this place a home to their bodies.


Many people call this their final resting place, here are a few…


Now back to camp!~


Four Generations, how lovely


Have a blessed weekend! This was just a little from my past so we can get to know each other -Friday promises to be super busy so I am checking out early.

Wednesday, June 23, 2010

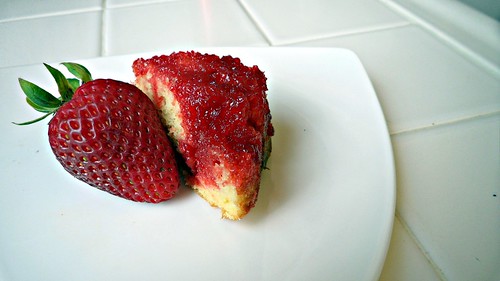
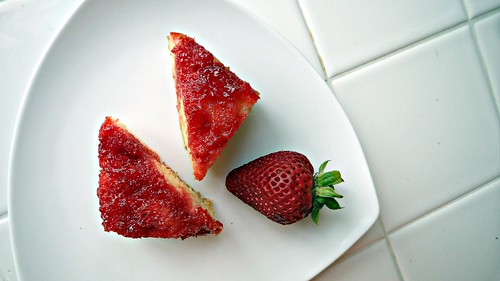
Upside Down Strawberry Cake


If you can not handle processed foods this is a WARNING, please do not read any further…ok so here we go for the rest of us.


This cake is super tasty & sweet and let me say super easy. I had all my cake eaters taste and comment before they go to hear the ingredients, I really didn’t want to scare any of them off (just joking those crazies will eat anything).


So would you be scared if I said the words…marshmallows…how about gelatin…and maybe box cake mix? NO???? Well then read on my friend!


INGREDIENTS

2 cups crushed fresh strawberries
1 tbs white sugar
1 (6 ounce) package strawberry flavored gelatin mix
3 cups miniature marshmallows
1 (18 ounce) package yellow cake mix, batter prepared as directed on package

DIRECTIONS

Pre- heat your oven to 350 and prepare your Yellow Cake mix as directed on packaging.

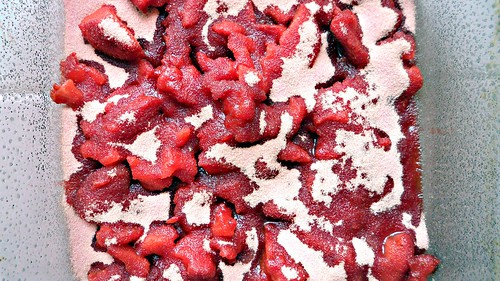
In a medium sized bowl put 1 tbs of sugar into your 2 cups of crushed strawberries and mix well. This will help juice them a bit, to crush your strawberries you can use a potato masher.


Now we can assemble.


In a 9x13 greased baking dish, or what ever you are choosing to use pour your crushed strawberries into the bottom. On top of that you will want to sprinkle your gelatin.


Next sprinkle the marshmallows


Pour your pre-prepared cake mix on top of that and bake for 40 minutes or so, you will notice that the marshmallow might seep out and make bubbles along the way – no biggie. Just make sure when you filled the pan you leave about a ½ inch of space at the top.


Cake is done once a skewer/toothpick comes out clean. Once removed from the oven you need to let this cake rest at least 1 hour. Letting it cool all of the way is ideal. I placed a plate under my dish then flipped. A wee bit of strawberry stuck to my baking dish but I just scraped it off and put it back on my cake. I think it tasted even better 2nd day.


Tuesday, June 22, 2010

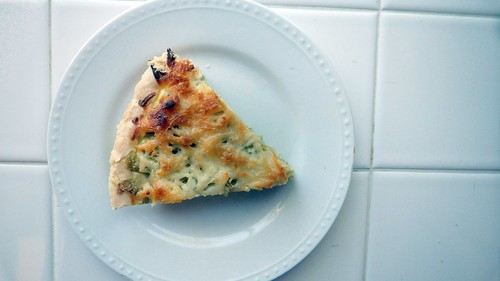
Artichoke Pie


Sometimes you just need to mix it up for dinner time, insert some oddball item to keep things fresh. This can definitely be one of those things. It is super easy since you can just use a store bought crust, and it is delicious to take to work the next day.


Let me make a suggestion of adding a chopped link of sausage and some tomatoes too – I will be making it again with those modifications soon. Below is your basic Artichoke Pie.


INGREDIENTS

• 1 tablespoon olive oil
• 2 clove garlic, minced
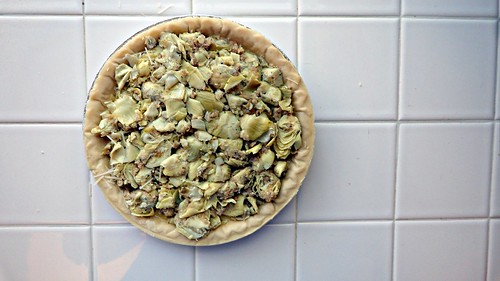
• 2 (8.5 ounce) cans artichoke hearts, drained and lightly chopped
• 1/4 cup Italian seasoned bread crumbs
• 1/2 cup grated Parmesan cheese, divided
• 1 (9 inch) unbaked 9 inch pie crust
• 3 eggs, beaten
• 2 cups shredded mozzarella

DIRECTIONS

** (Pre-heat your oven to 350) I recommend cooking your pie crust for about 5 minutes before you fill it with the artichoke filling.


Saute your garlic over a medium heat along with the artichoke for 5-8 minutes. Toss in your half of you parmesan cheese and the bread crumbs. Saute for another 3-4 minutes until cheese is all melted and everything has combined.


To assemble pour the artichoke mixture into your pie crust, then pour your eggs over the artichoke. Top with the remaining cheeses. I then pressed my pie down to make the top flat.


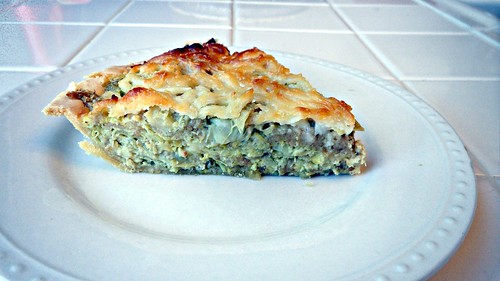
Cook at 350 for 35-45 minutes or until the top has nicely browned over. To prevent the side of your pie dough from blakening you can cover it with foil.

POOOOOOF Artichoke Pie


PS - School is going well, today we are learning all about the OSI Model and it's layers...facinating stuff.

Sunday, June 20, 2010

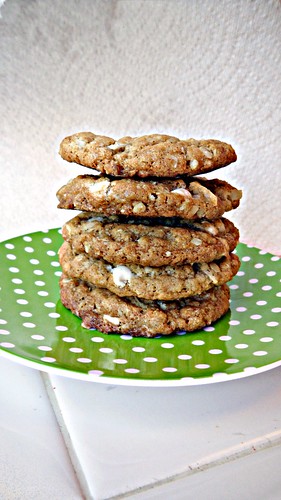
Chewy Cinnamon Oatmeal Cookies with Yogurt Chips


It was a very low key weekend. I set out to bake a few things and party like a rockstar (ok party at a 2 year old birthday party like a mom type rockstar!). The weather was gorgeous and Indigo was a peach….most of the time. She did happen to fall completely backwards out of her booster chair and her head has now been formally introduced to the wall.

Now what was I making while all this trouble was going on, well I was making cookies. These cookies have a super thin layer of crunch on the ouside and a very chewy center. I sorta think they kick butt – you tell me?


INGREDIENTS

• 1 1/2 cups all-purpose flour
• 1 teaspoon baking soda
• 3/4 teaspoon salt
• 1 cup white sugar
• 1 cup brown sugar
• 1 tsp cinnamon
• 1 1/2 cups rolled oats
• 1/2 cup flaked coconut
• 3/4 cup vegetable oil
• 2 eggs
• 1 teaspoon vanilla extract
• ½ cup of yogurt chips (or white chocolate chips/cinnamon chips)

DIRECTIONS

Pre-heat your oven to 350, line a baking sheet with parchment paper.


Combine all of your dry ingredients in a bowl and mix well. In another bowl combine all of your wet ingredinets, pour the wet ingredients into the dry and mix until combined.


Roll each cookie into a walnut size and bake until the cookie is golden brown. These cookies will spread a bit, but don’t worry they are still so super chewy & nice.


++---+

Friday, June 18, 2010

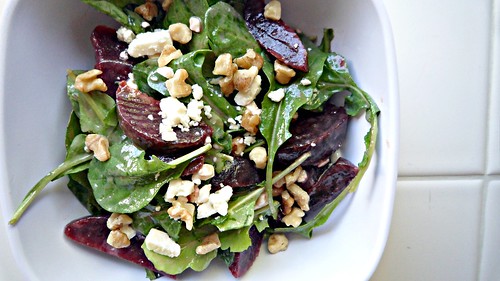
Beet Salad with Champagne Vinaigrette


Next week I will be in school! Just in case you didn’t know, I Jennifurla program phone systems for a living. Straight out of high school I joined the Navy and became an Interior Communications Electrician (fancy huh?). I spent my days running cable and *trying* to fix the Mark19 Gyrocompass…look it up you will be impressed. After 5 years of that I made my way into the real world and began programming phone systems for a few major companies, and here I am today doing the same thing. So this coming week will be spent learning even more technical stuff to hopefully get me moving on up in the next few years.

So speaking of the Gyrocompass, I made this salad for a non cooking night we had at my house this week….nice segway I know! Ha


INGREDIENTS (eyeball it to your liking)

Arugula
Beets, sliced
Gorgonzola
Walnuts
Champagne Vinaigrette (found this near the pre-packaged salads – also check the aisle with all dressings…or make your own)

DIRECTIONS

Toss all the ingredients together & Chow down….like I have to tell you!


Have a great weekend all, I will be baking for sure and hope everyone else can do the same.

Thursday, June 17, 2010

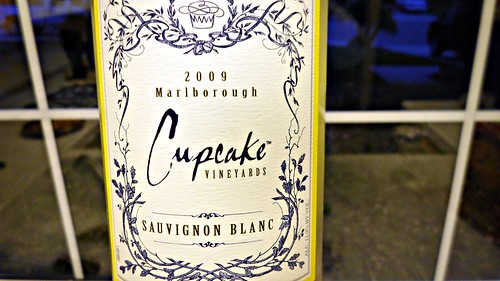
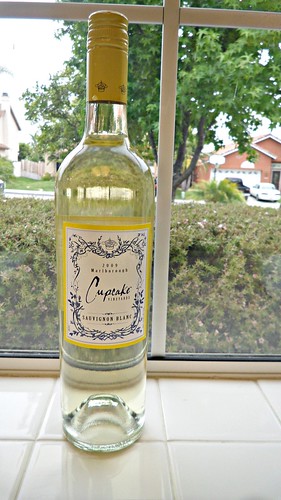
Cupcake Vineyards Sauvignon Blanc Marlborough New Zealand 2009 - 4 1/2 STARS


Have you been through lots of wine at the grocery store, do you have your favorites? I have a few that if I am forced to buy at the grocery store are my standards. I normally like to head on down to a restaurant called 3rd Corner in San Diego and let the super wine enthusiast workers take me for a shopping trip through their restaurant (the restaurant center is filled with crates and crates of wine), but sometimes I can not make that journey and end up at my local Stater Brothers or Vons.

This wine blows my socks off; I have been through several bottles. I hope you can find it at your local grocer; this puppy will set you back about 9 dollars which is just perfect for a last minute buy.

I am giving this wine 4 1/2 Stars, I LOVE it. It is divine & if you try it and like it you are sure to love all my picks as this is a great representative of my taste.


From the winemaker:

"Our vineyard works hard to bring you the zestiest, most refreshing Sauvignon Blanc from the cool Marlborough valley. Here the grapes mature slowly, giving them layers of complexity and a vibrant zing, reminiscent of your grandma's lemon chiffon cake. The flavors are integrated, delighting the senses with layer upon layer of Meyer lemons, key limes and a finish that awakens the appetite.--Winemakers Note
Juicy and bright, with grapefruit, lime, nectarine and herb flavors in a lovely balance, lingering attractively." --Winemakers Note


Link to site : http://www.cupcakevineyard.com/

This wine is 12 dollars on their site, at my local store it was 9 Dollars.

Happy tasting!

Wednesday, June 16, 2010

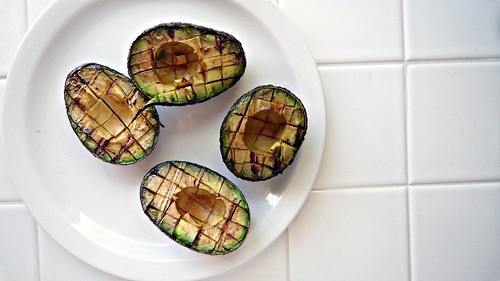
Grilled Avocado anybody?


Grilled avocado’s, I live in Southern California - I do believe I should have known about these before now! I came across this idea at a blog I frequent and follow:

http://themerlinmenu.blogspot.com/2010/06/grilled-balsamic-avocado.html

Me – Hubster and the little light of my life…(Indigo) all enjoyed these and now I can think of all sorts of things I will be grilling this summer, next I hope to try some fruit for dessert and maybe some foil pouches of fresh fish and herbs. I feel like I am hitting my groove for summer time and well watch out grill because here I come!

INGREDIENTS

1 Avocado per person
1 tbs of balsamic vinegar per Avocado
Salt & Pepper for taste

DIRECTIONS

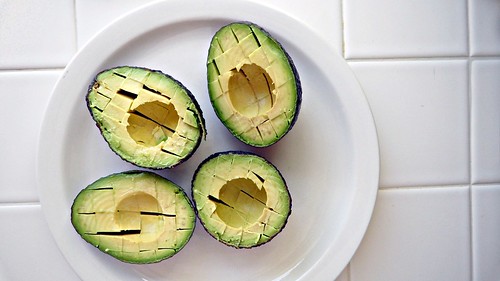
Half each Avocado and remove the seed. Next cut the avocado into squares without removing it from the skin.


Put 1 tablespoon of balsamic vinegar on each Avocado and let them sit for about 15 minutes before grilling.


Now it is time for grilling, I put my avocado’s on the top shelf in my grill and they were in there doing their thing for just under 10 minutes – What you want to keep an eye out for is when the avocado pieces start pushing out of the skin.


Remove from the grill, sprinkle with salt and pepper – then crack a beer and slice some lemon…